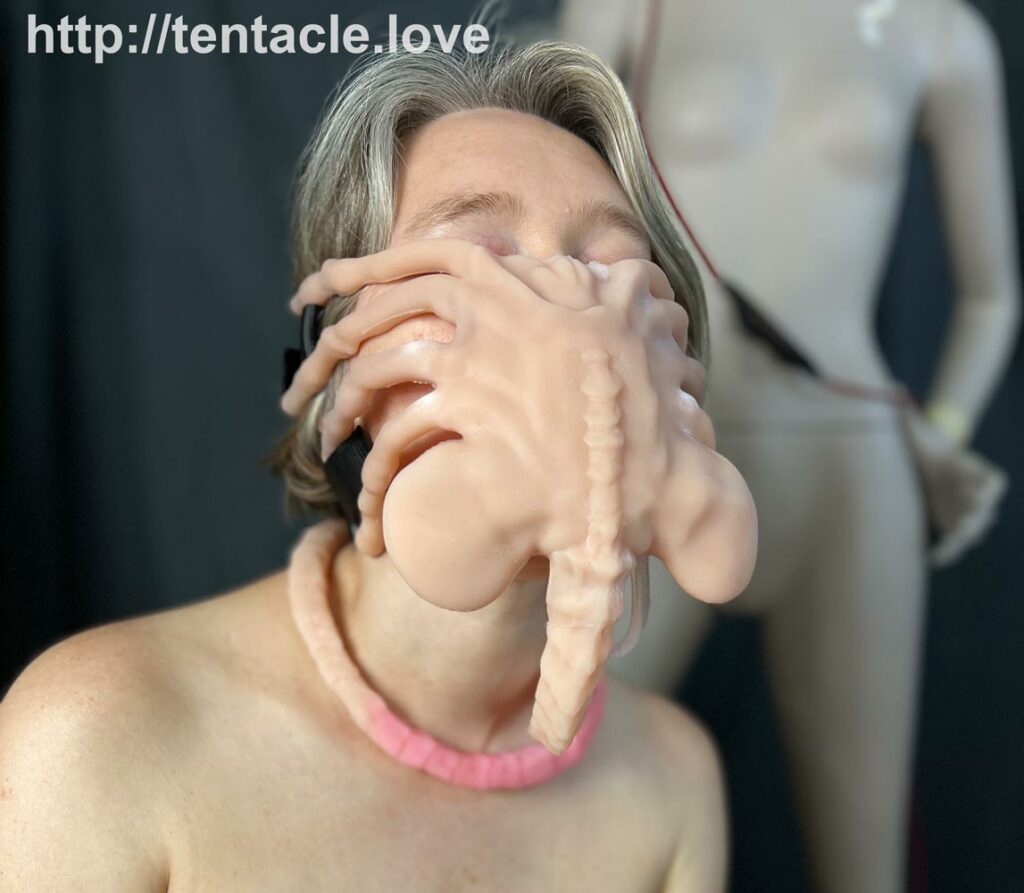
I just shipped a commission of a xenomorph facehugger gag, and the client had asked me to take photos of the process of making it, so I thought, hey, why not write an essay showing how the entire process works? Each facehugger gag and hiphugger strapon is hand-made in a rather lengthy and quite fiddly process, using medical-grade platinum-cure silicone cast in 3D printed molds. The facehugger mold is a 7-part mold that’s extremely fiddly to use.
I currently only make and sell one facehugger and one hiphugger per month, because the process is so demanding and fiddly. I’m looking at ways to make the process easier, starting with moving away from 3D printed molds. (I’d hoped each mold would be good for about ten castings, but right now I’m only getting 2-3 castings from each mold. The entire facehugger mold takes about two weeks to print, so this is clearly unsustainable.)
Anyway, if you want to learn more, read on!
Each facehugger starts with the ovipositor, which goes in the wearer’s mouth. The ovipositor is hollow and has a tube running down it, to make it possible to squirt…um, fluids into the helpless victim.
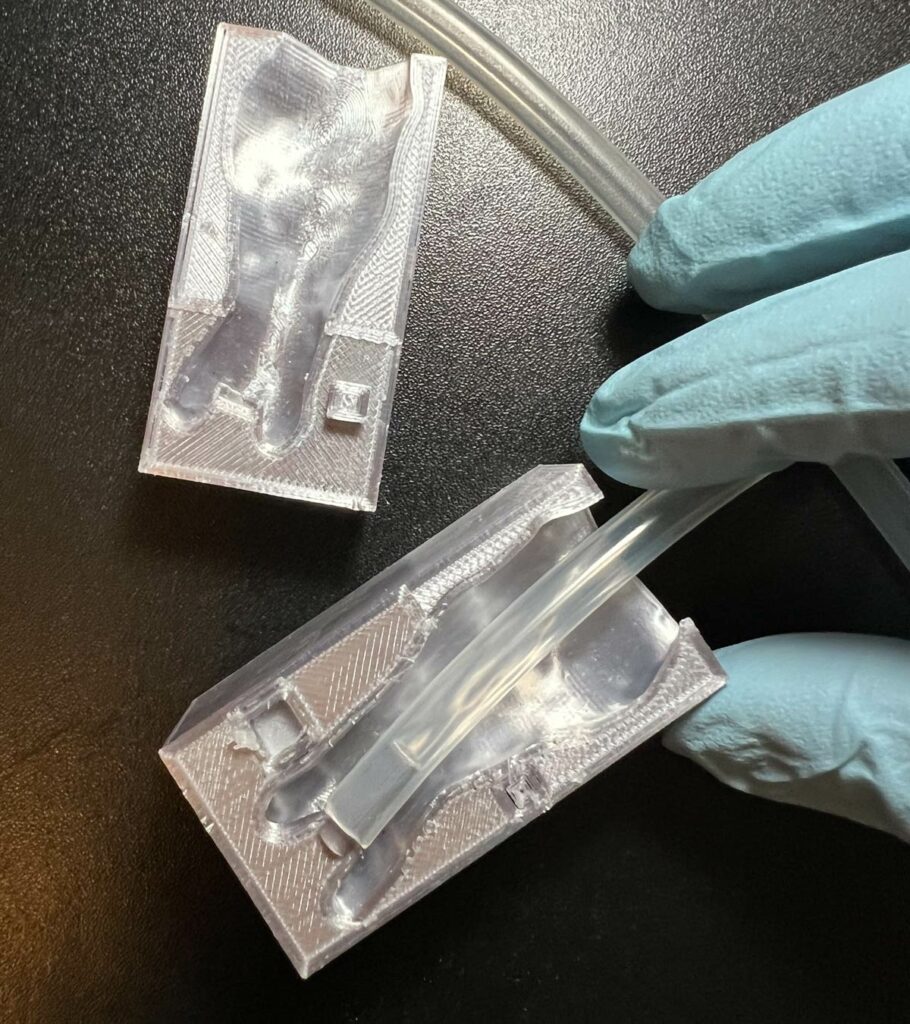
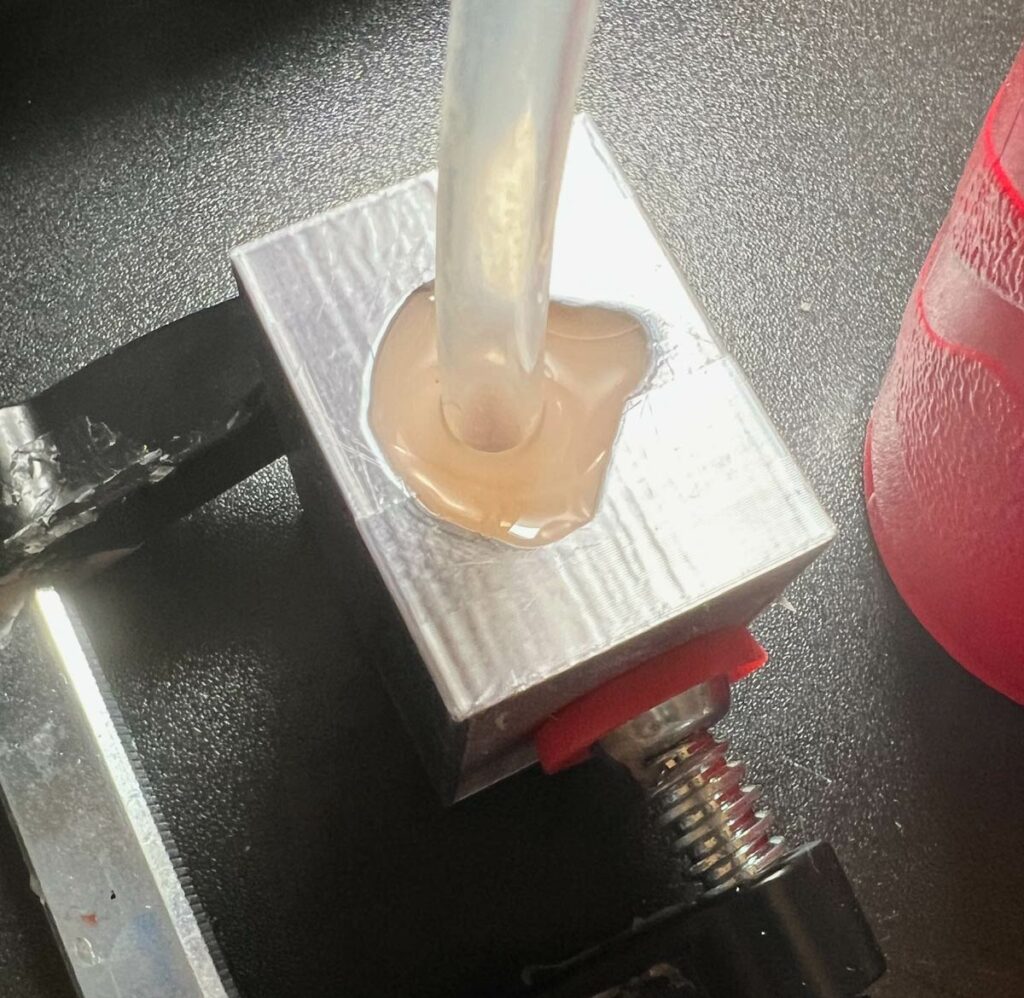
The mold has a round plug for attaching a food-grade silicone tube, as you can see here. Once the tube is slid onto the plug, I assemble and clamp the mold, routing the tube out so it doesn’t touch the sides of the mold, then fill it with silicone.
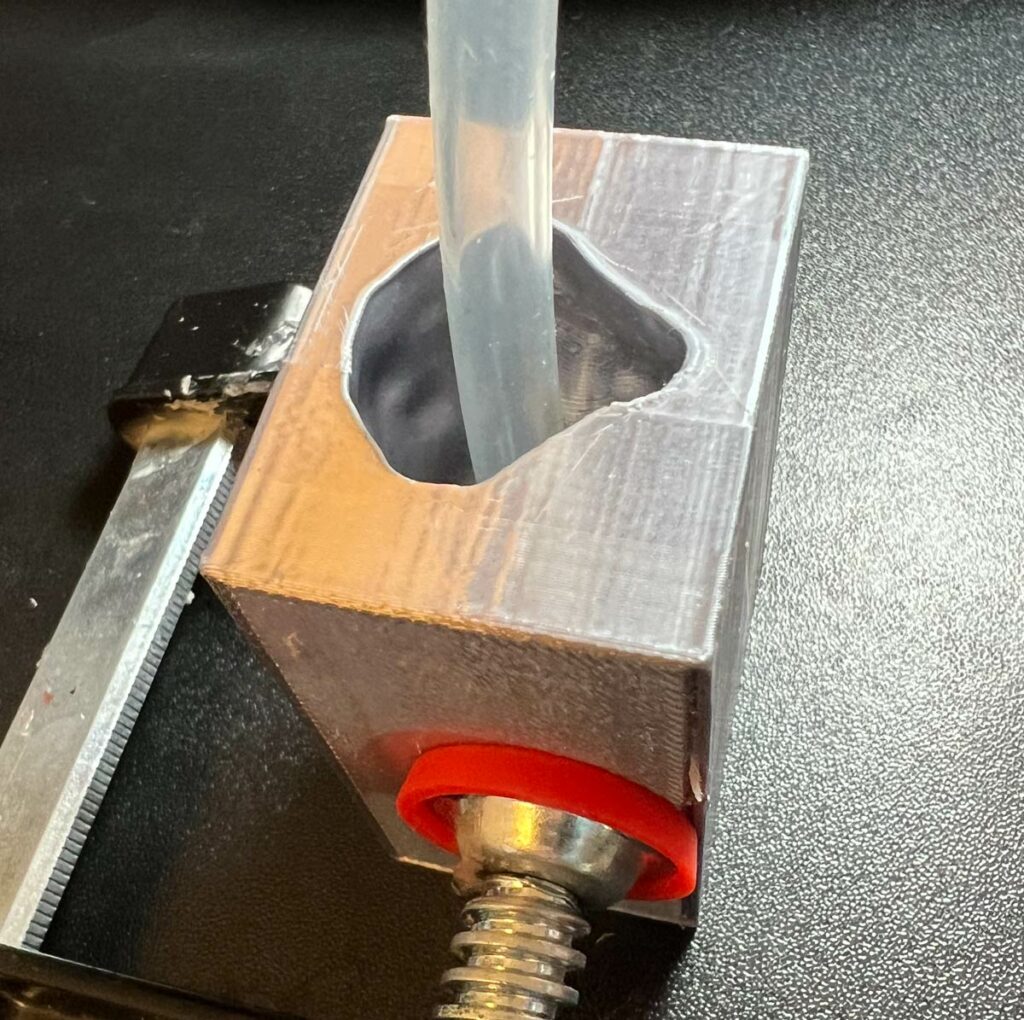
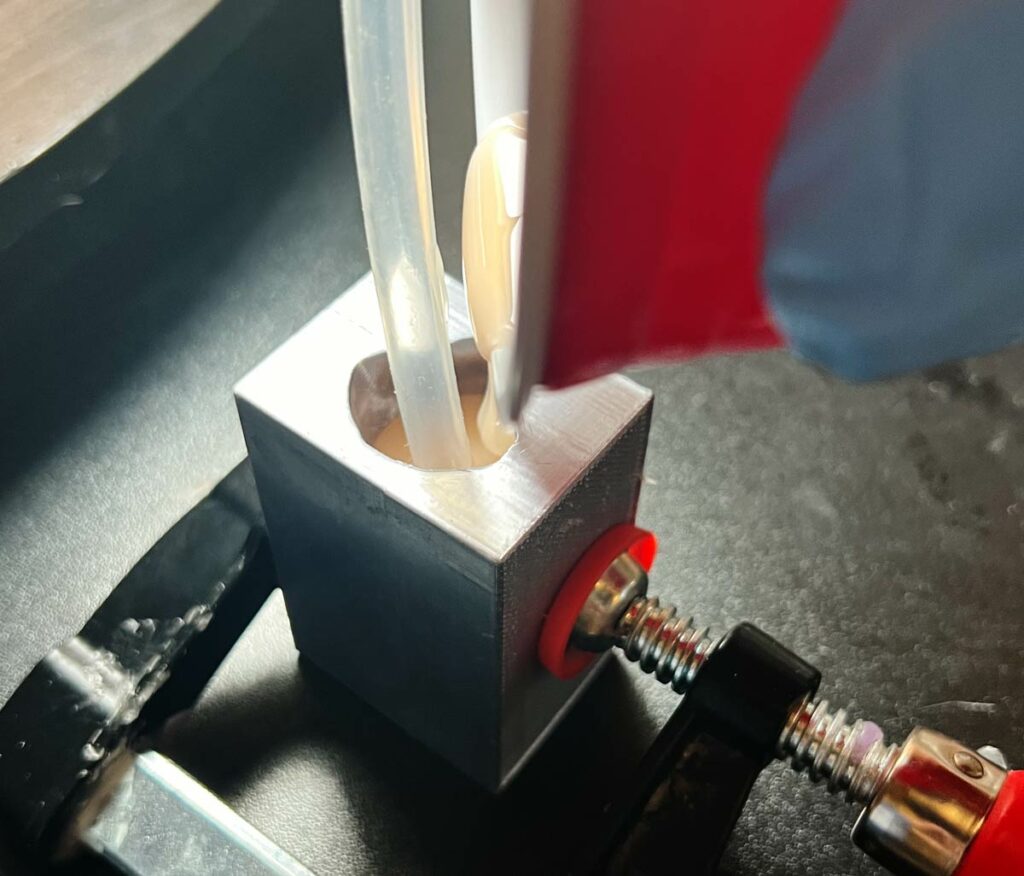
The ovipositor is made from a type of silicone that’s different from the rest of the facehugger. The facehugger itself (the body, legs, and tail) are made from the same sort of silicone that’s normally used for dildos and such. The ovipositor is a very soft (Shore hardness 00-20), fleshy silicone that’s normally used for Fleshlights. This gives it a super-soft, “fleshy” feel in the mouth. When it’s cast, it looks like this:
Once the silicone cures, I mount the ovipositor, still in the mold, to the underside fo the body mold, which is a one-piece plate, and then add some more silicone, to adhere the ovipositor to the body.
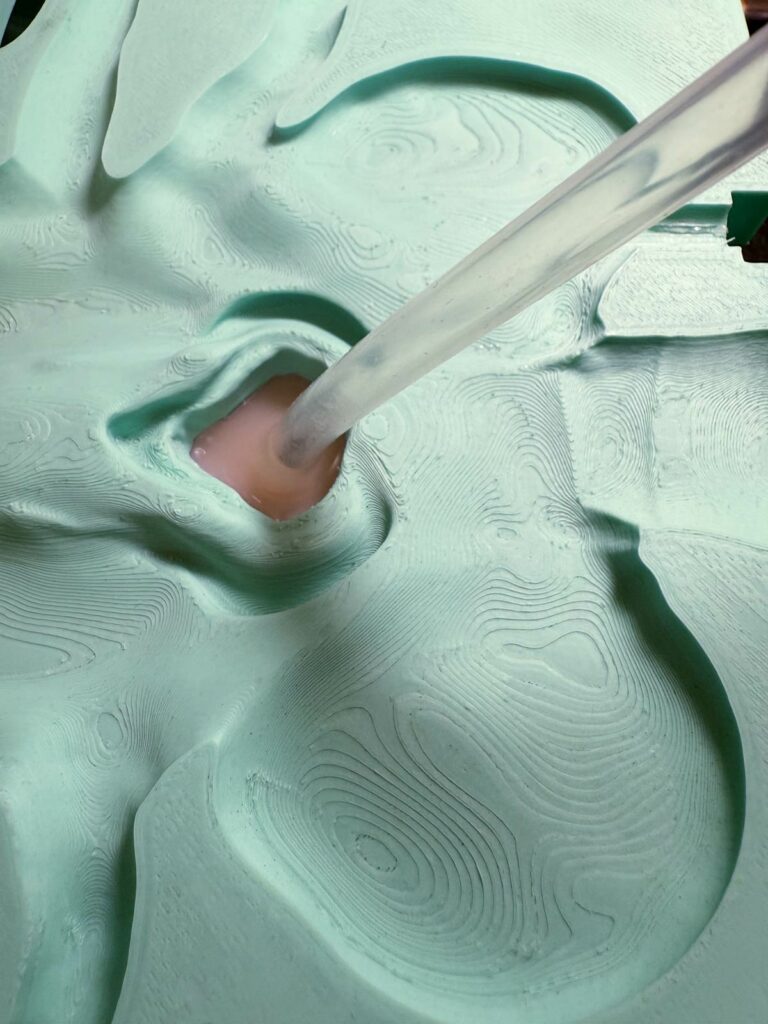
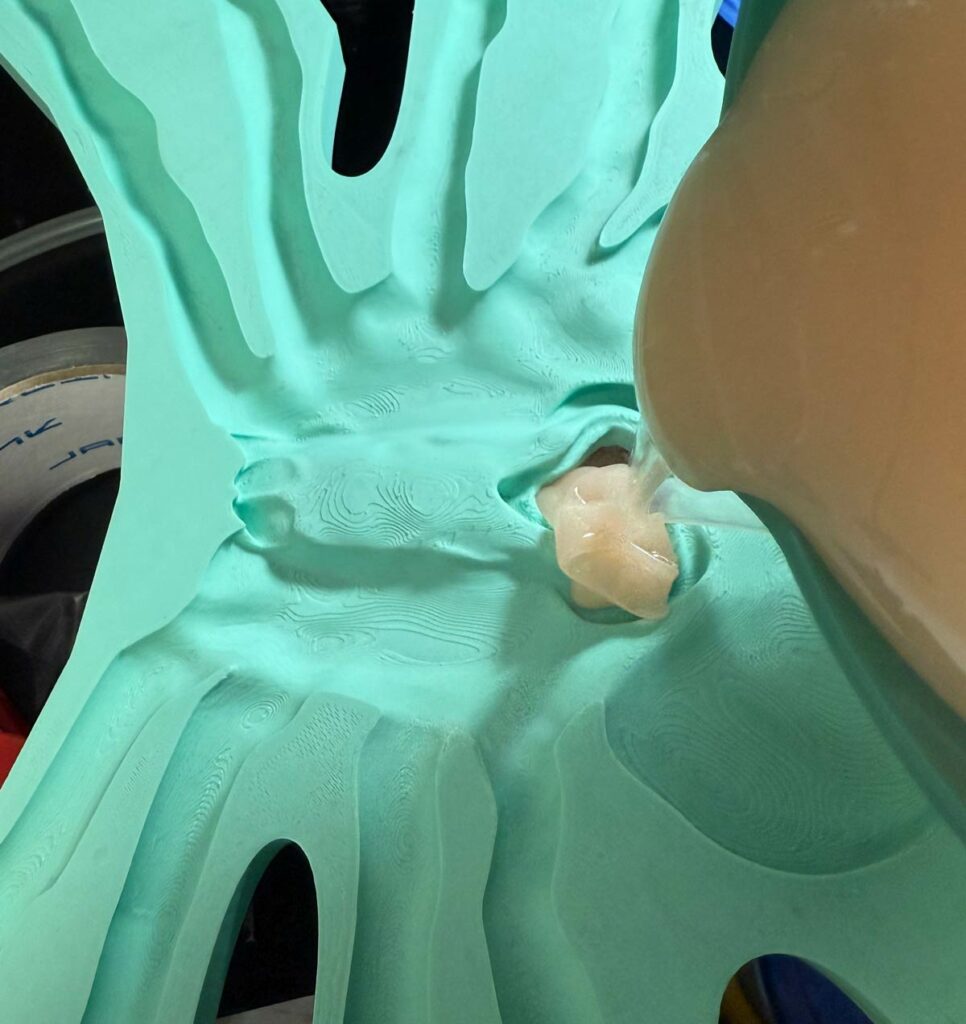
If you look closely, you can see the tube running out the right hand side.
While this cures, I pour the tail. The tail is cast in a three-piece mold, printed in a spiral to fit my large-format 3D printer. (The facehugger mold can’t be printed on a normal 3D printer; it’s much too big.)
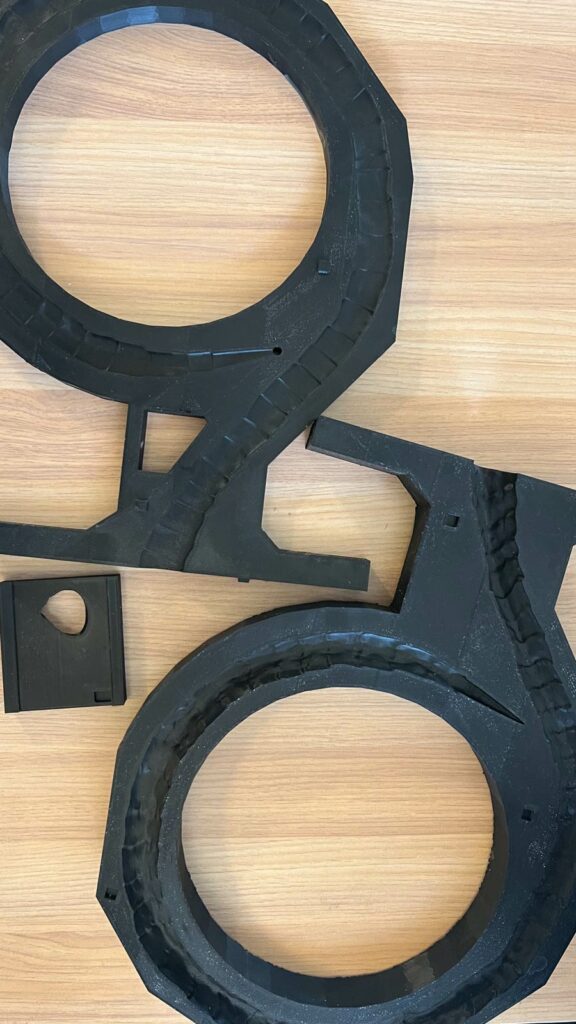
What’s that small piece? Good question! I’ll get to that in a second. 🙂
If you look closely at the tip of the tail, you’ll see there’s a hole through the mold on one side. I’ll get to that in a minute too.
The tail mold is assembled, clamped, and cast using regular silicone, not the super-soft squishy silicone of the ovipositor.
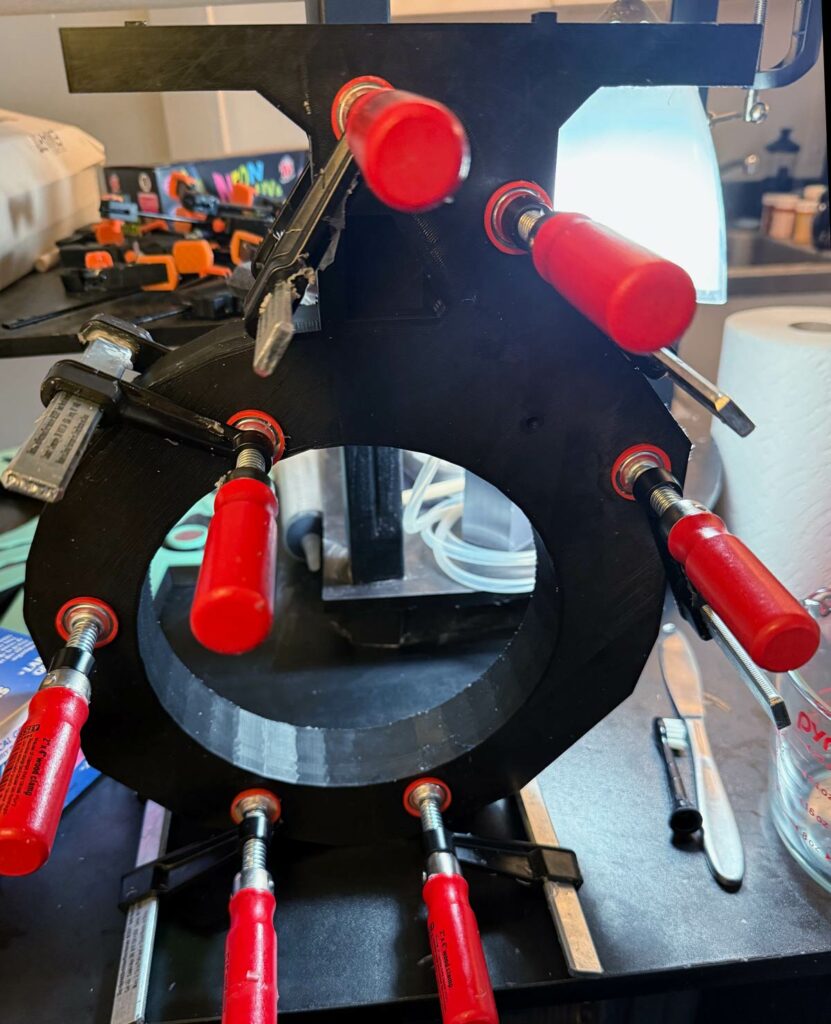
The tricky thing about the facehugger gag is the assembled mold is closed all the way around; there’s no place to fill it with silicone. Hence the third part of the tail mold, which goes on top of the tail like so.
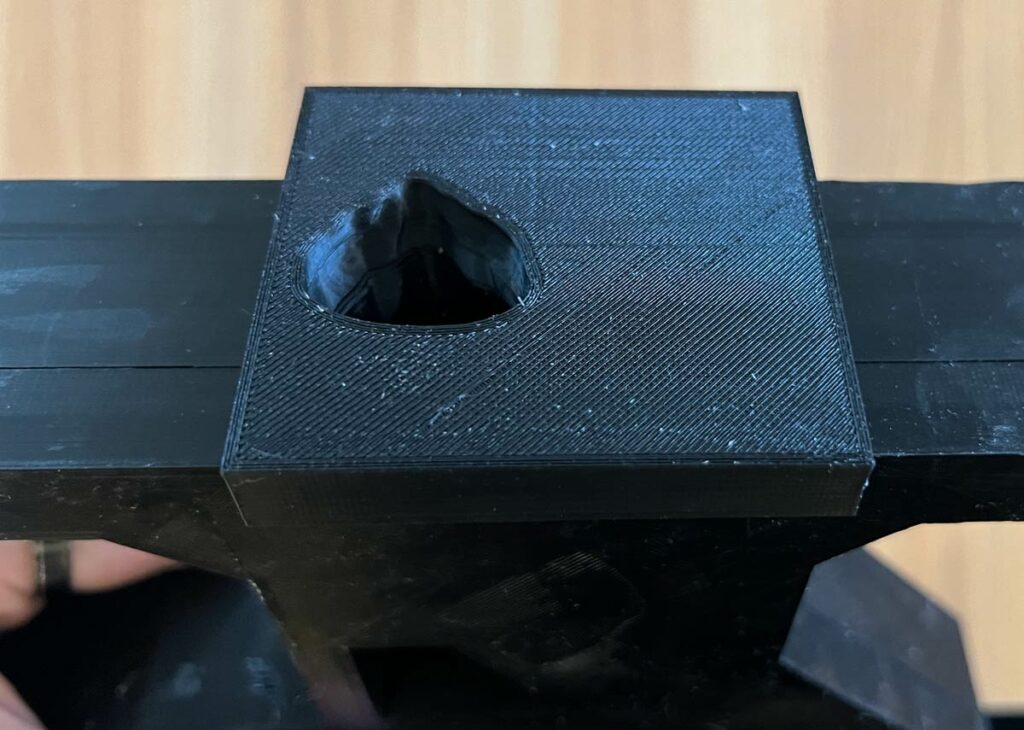
I pour the tail by filling the mold with silicone. The mold is closed at the bottom, which creates a tricky problem: how to fill the entire mold without getting air trapped inside the spiral?
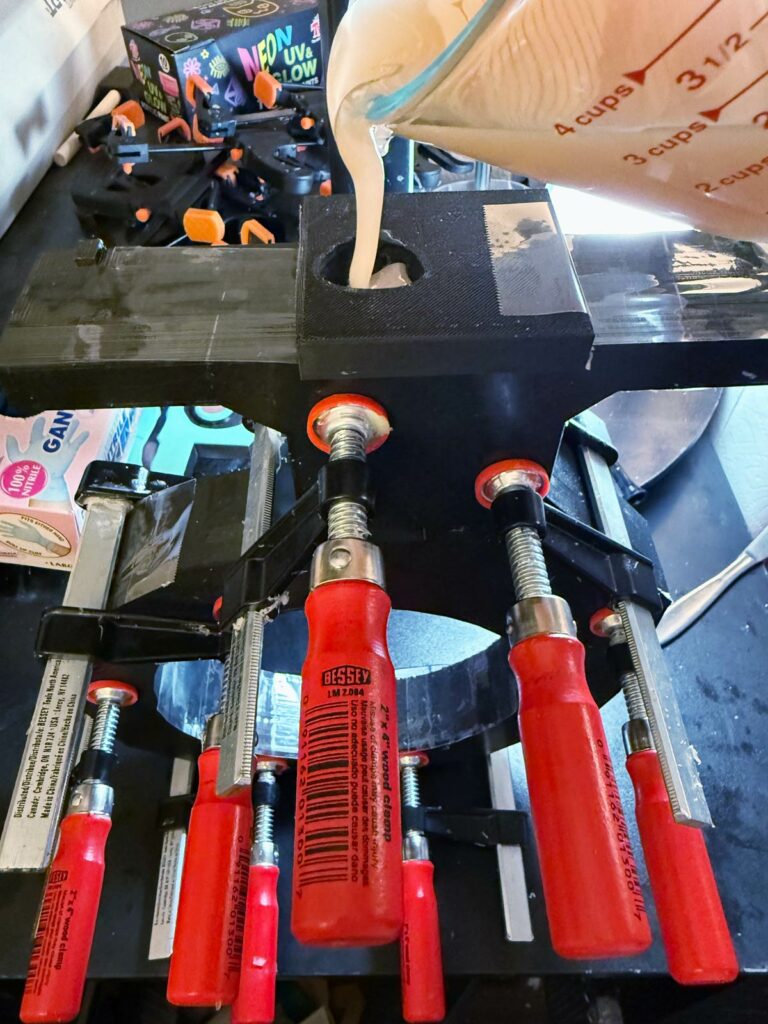
That’s where the hole comes in. As silicone flows into the tail, air flows out that little hole. I know the mold is completely full when silicone flows from the hole in the tip of the tail, at which point I plug the hole and clean off the silicone.
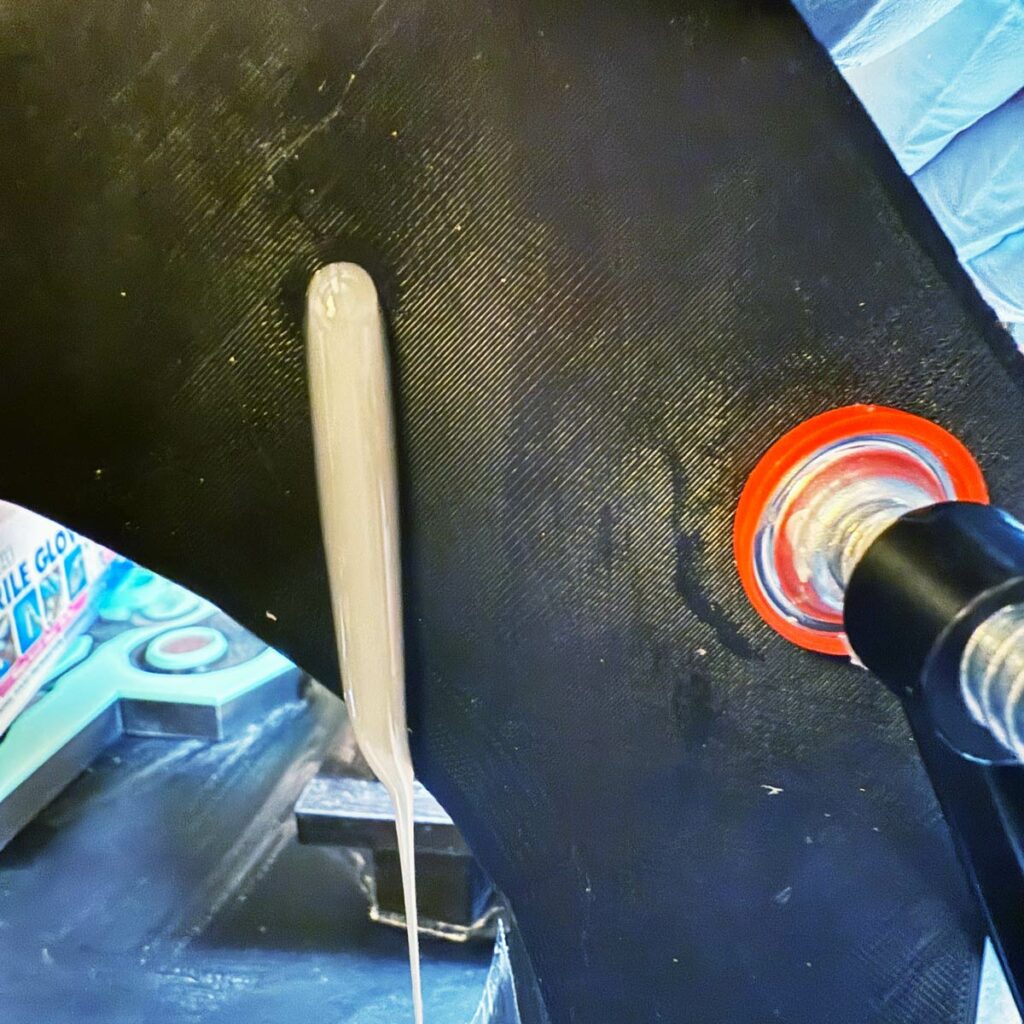
Now I wait again for the tail to cure. The tail, ovipositor, and silicone mounting the ovipositor to the body plate must all be 100% cured before I move on to the next step.
Once everything is solidly set, I pry the top piece off the tail. This creates a “plug” or extension of the tail that is the exact size and shape of the opening in the body mold, so I can fill the body, then assemble the body and tail, and the facehugger holds together without any opening to pour the silicone! (It took quite a lot of work and thought to come up with this way to assemble the mold.)
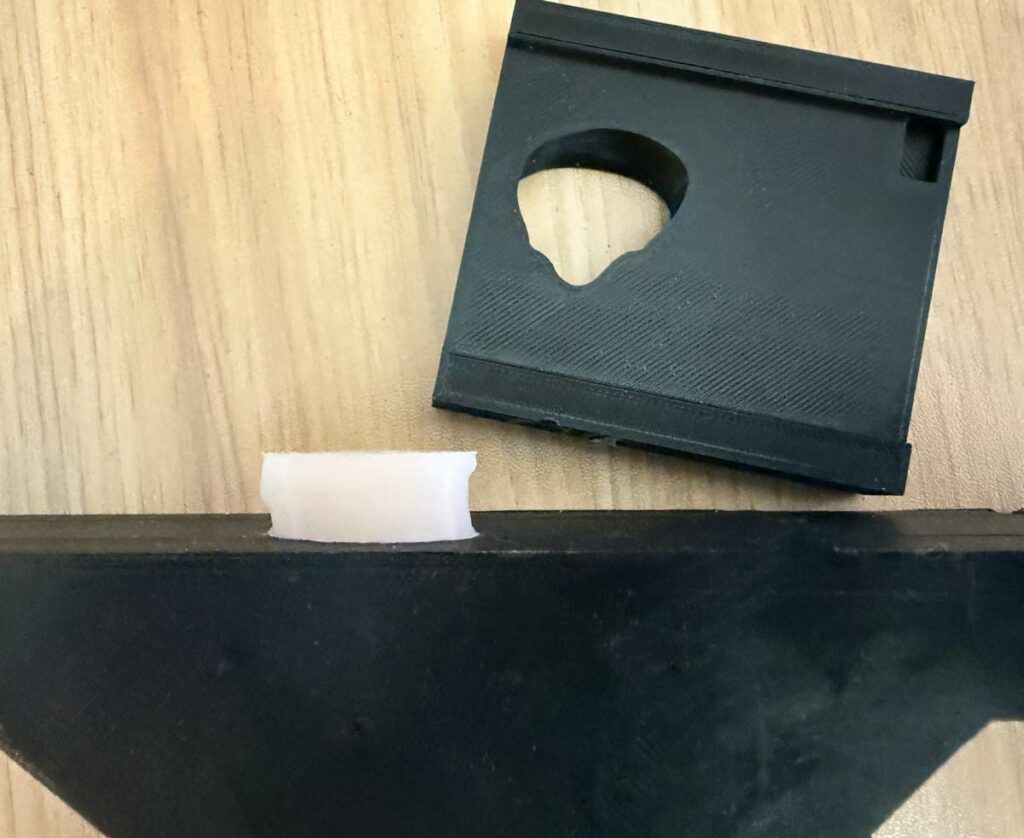
Now it’s time to start assembling the body. The facehugger body is a 3-part mold: the bottom plate, where the ovipositor mounts, and the left and right sides of the upper body.
Because the facehugger legs are wide and bumpy, the first several prototypes I cast had air trapped in the legs. So I finally started casting these by pouring silicone into the open mold, waiting until it was juuuuust reaching the end of its pot life and starting to get tacky, and then quickly assembling the mold, clamping it, inserting the tail, and clamping it. That takes timing and coordination and has to be done all at once (and if I get it wrong, it’s expensive; the medical-grade silicone I use is more than $200 a gallon!).
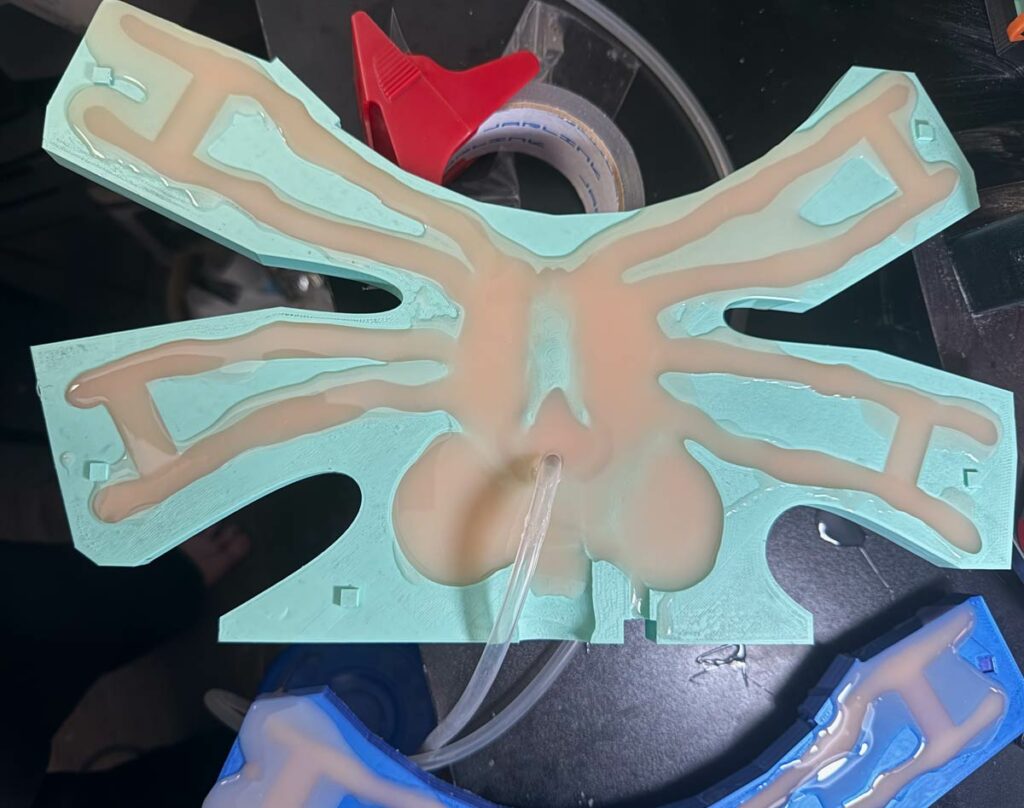
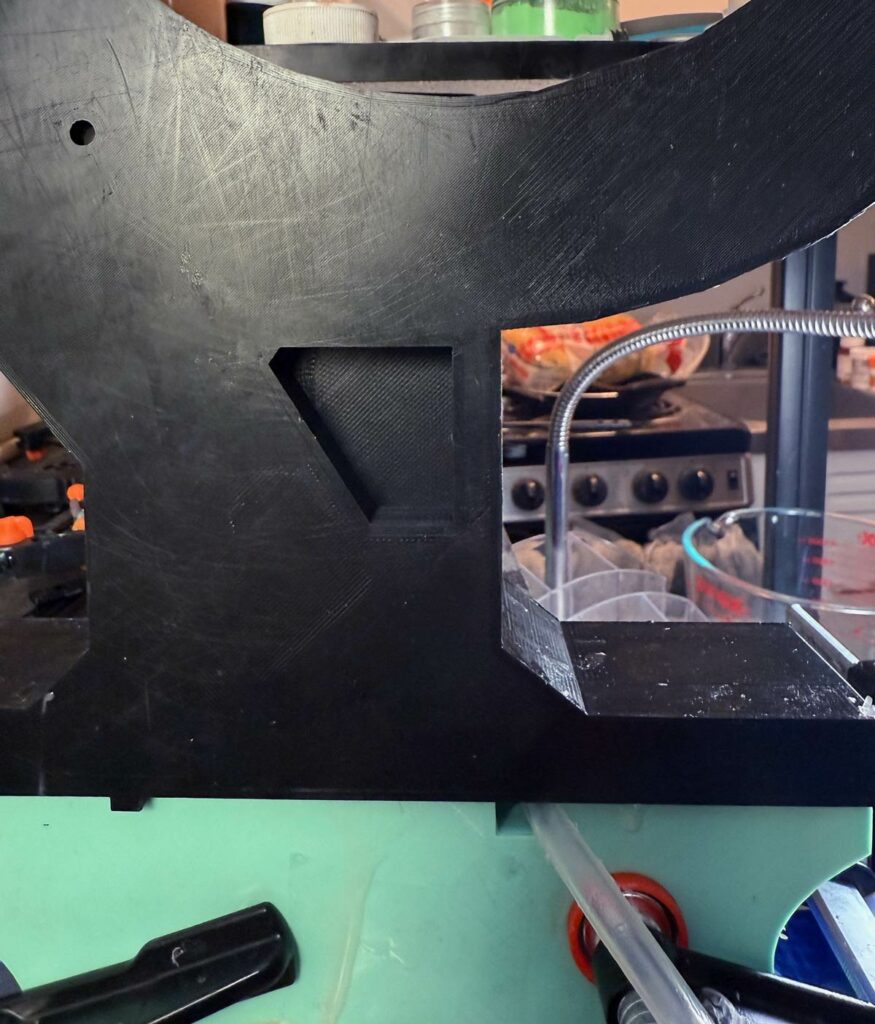
You can see the body mold has a notch cut out for the tube that runs through the ovipositor. Routing the tube through the body is actually fairly tricky and requires careful attention, so that it doesn’t touch the edge of the mold.
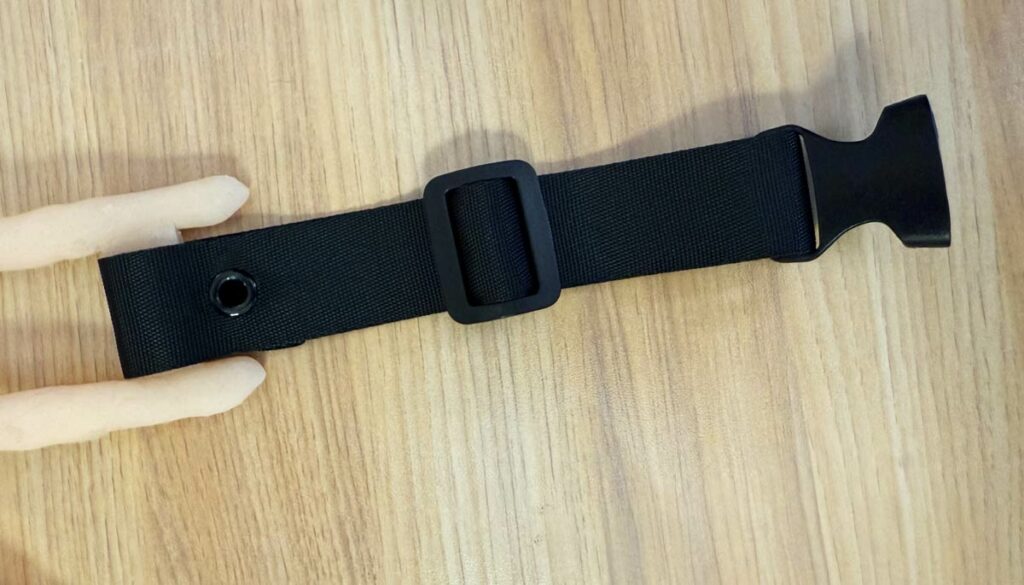
Once the whole thing cures, all that’s left is to mount the straps! The xenomorph facehugger gag is held in place by two sets of adjustable straps mounted to the legs, which is why the upper and lower legs are jointed together with little “bridges.”
The straps are nylon webbing, riveted together and connected to quick-release latches.
 At this point, I’m still experimenting with the design, so every single facehugger is slightly different from all the others. This particular facehugger does something new: the tube for the ovipositor is removable, and connects to the body of the facehugger via a one-way valve. (I didn’t take any photos of that bit before I shipped this one out.)
As you can see, making these things is a complex and kind of nerve-wracking process. That’s why I will only make two a month. I’m working on ways to streamline the process and make it less labor-intensive, at which point I can start making them faster, because a lot more people than I ever would have imagined have said they want one of these.